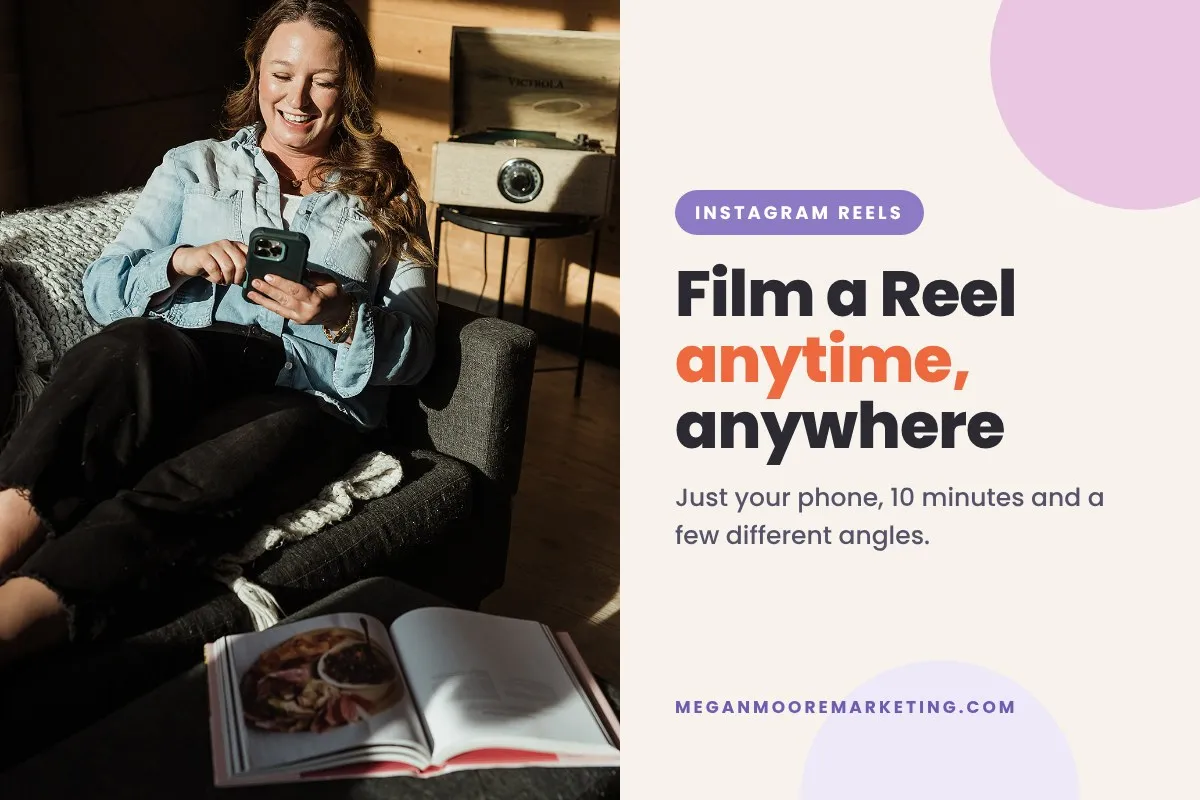
How to Film a Reel Anytime, Anywhere (With Just Your Phone)
You don't need a studio, a ring light or a free afternoon to film a Reel. You need your phone, something you're already doing, and about ten minutes.
I film most of my Reels in the middle of real life. Splitting wood at our tiny home. Cutting up a pumpkin in the kitchen. Making coffee. Walking Emma. If you've ever thought "I'd post more if I had time to film," this one's for you.
Here's exactly how I film a Reel anytime, anywhere, with nothing but an iPhone.
1. Film what you're already doing
The easiest Reel is the one you don't have to plan. Pick something you're doing today anyway: making lunch, packing orders, answering emails, folding laundry, setting up for a client. Prop your phone up and hit record.
This Reel was filmed while I was splitting firewood at our tiny home in Golden. No set, no outfit change, no script. Just a phone leaned against a log.

Filmed on an iPhone, propped on the woodpile. That's the whole setup.
2. Shoot one moment from four angles
This is the trick that makes a simple Reel look polished. Instead of one long clip from one spot, film the same moment from a few different angles and stitch them together. Every new angle feels like a new beat in the story, so people keep watching.
Here's how I break it down:
Wide: set the scene. The whole counter, the whole room, the whole yard.
Front: you, mid-task. Talking, working, laughing, whatever's real.
Over the shoulder: your hands and the action. Chopping, typing, pouring, writing.
Detail: the result. The finished dish, the packed order, the clean desk.
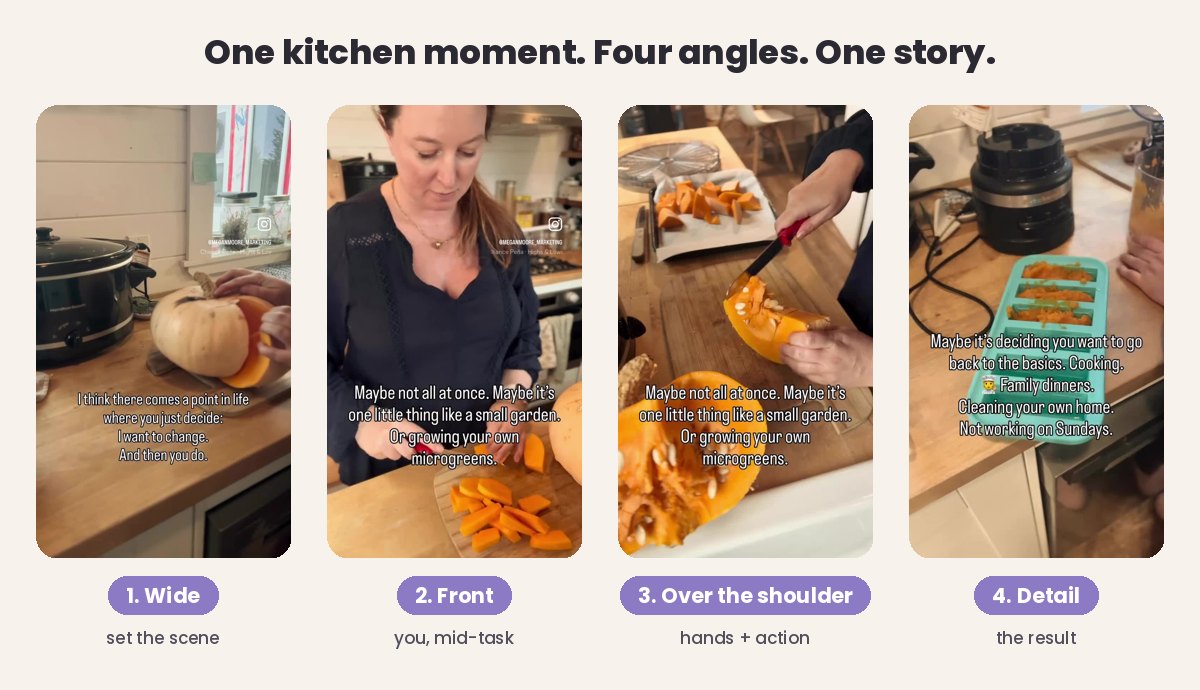
Here's the full kitchen Reel. One pumpkin, a few angles, maybe ten minutes of filming:

Wide, front, over the shoulder, detail. Same kitchen, same ten minutes.
How to do it: prop your phone, film 5 to 10 seconds, move the phone, film again. Repeat three or four times. Then pull the clips into Instagram's editor (or CapCut, or Edits) and trim each one down to the best few seconds.
3. Use what you have (and add one thing if you want)
Your phone is enough. Every Reel in this post was shot on an iPhone. Film near a window for soft natural light and wipe your lens first (it makes a bigger difference than you'd think).
If you want to level up, these are the three things I actually use:
KraftGeek magnetic tripod: sticks to the fridge, a car door or a metal shelf, so you can film from angles you couldn't otherwise.
DJI Mic Mini: tiny clip-on mic for when you're talking to camera. Clear audio matters more than perfect video.
DJI Osmo Pocket 3: my splurge. A pocket-sized stabilised camera that makes walking shots smooth.
Everything else I film with is in my Amazon storefront.
4. Hook them in the first 3 seconds
People decide almost instantly whether to keep watching. Put a short line of text on screen right away that tells them why they should stay. A few that work:
"I think there comes a point where you just decide…"
"Girl to girl…"
"The 10-minute habit that changed my week"
"Nobody talks about this part of small business"
Your words can be totally different from what you're filming. That's the magic. A calm kitchen clip with a thoughtful line of text on top feels personal and stops the scroll.
5. Add audio, a caption, and post
Pick a trending sound or soft music from Instagram's audio library, keep your text on screen long enough to read, and write a caption that adds one more thought or asks a question. Then post it and go back to your day. Reply to comments when you check in later.
Remember: the best time to post is the time you're actually going to do it.
Reels + carousels: the perfect pair
Reels help new people find you. Carousels help them save you, share you and trust you. The easiest content week I know is one Reel and one carousel, both made from the same idea.
Once you've filmed your Reel, grab a still from it (or any photo from your camera roll) and turn it into a scroll-stopping butter yellow carousel: your photo in the background, soft yellow words on top. I made a Claude skill that does the fiddly part for you in minutes.
💛 The Butter Carousel Kit
Upload your photo, type your idea, and Claude makes your butter yellow carousel, caption and alt text included. Works on the free Claude plan.
Get the Butter Carousel Kit →
A quick small-business example
Say you run a little bakery. Monday morning you're already making cinnamon buns. Film a wide shot of the kitchen, a front shot of you rolling dough, an over-the-shoulder shot of the icing going on, and a detail shot of the finished tray. That's your Reel for the week. Pull one still from it, make a carousel ("3 things I wish I knew before opening a bakery"), and you've got two posts from one batch of buns.
FAQ
How long should a Reel be?
Short is still sweet. Aim for 7 to 15 seconds for most Reels, especially when you're starting out. If it's a story or tutorial, go longer, but make every second earn its place.
Do I need to show my face?
No. Hands, over-the-shoulder shots and details work beautifully. If you're camera-shy, start there and add a front shot when you're ready.
What phone settings should I use?
Film in 4K at 30fps if your phone allows it, and keep your phone vertical. Lock your focus by tapping and holding on the screen so it doesn't jump around.
How often should I post Reels?
Consistency beats volume. Two Reels and one carousel a week is a realistic rhythm for most small businesses. Here's my full guide to how often to post.
Want this done for you?
If you'd rather hand your content off completely, see my packages → or message me on WhatsApp →
💌 Want simple marketing systems every week? Join me on Substack. It's free →
Now go film something. Ten minutes, four angles, one story.
Megan xo
Disclosure: This post contains Amazon affiliate links. As an Amazon Associate I earn from qualifying purchases, at no extra cost to you. It also links to my own product, the Butter Carousel Kit. All Reels in this post were filmed by me on an iPhone.